
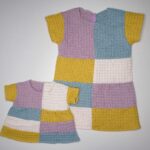

The great thing about this dress is that nothing is cut out through two layers, which can really eat through your fabric. I had two total yards of fabric (a half yard of four different colors) and was able to make 3 dresses–a 3 month, 12 month, and 5T…I’ll also be upfront and admit that that included several pieces being recut because I made some mistakes. Needless to say, this could be a great scrap-busting dress and I can imagine it looking so cute with so many different kinds of fabric.
I found this fabric on clearance at Joann and got a 1/4 yard of each of the colors they had (purple, blue, yellow, and very light blush pink–looks almost like cream). I had this dress designed before, without knowing what fabric I would use to actually make it, but as soon as I saw them, I immediately knew what I’d use it for.
I have printing , taping, and cutting instructions here, so please see those if you need a refresher on how to do that.
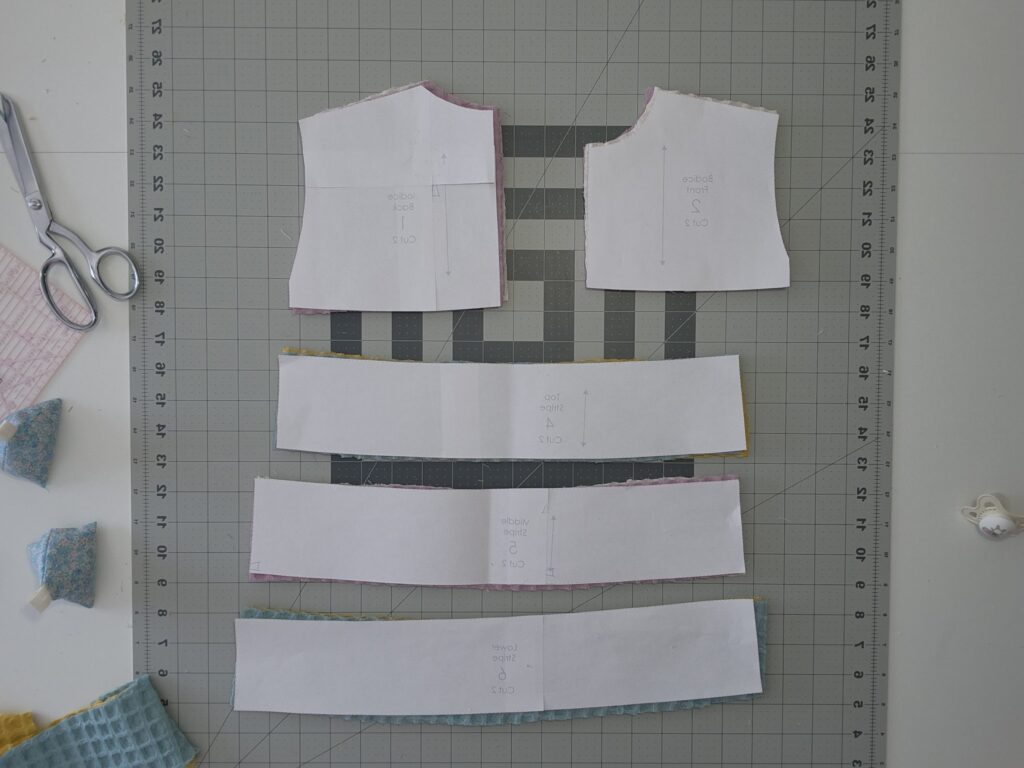
- Pattern Pieces
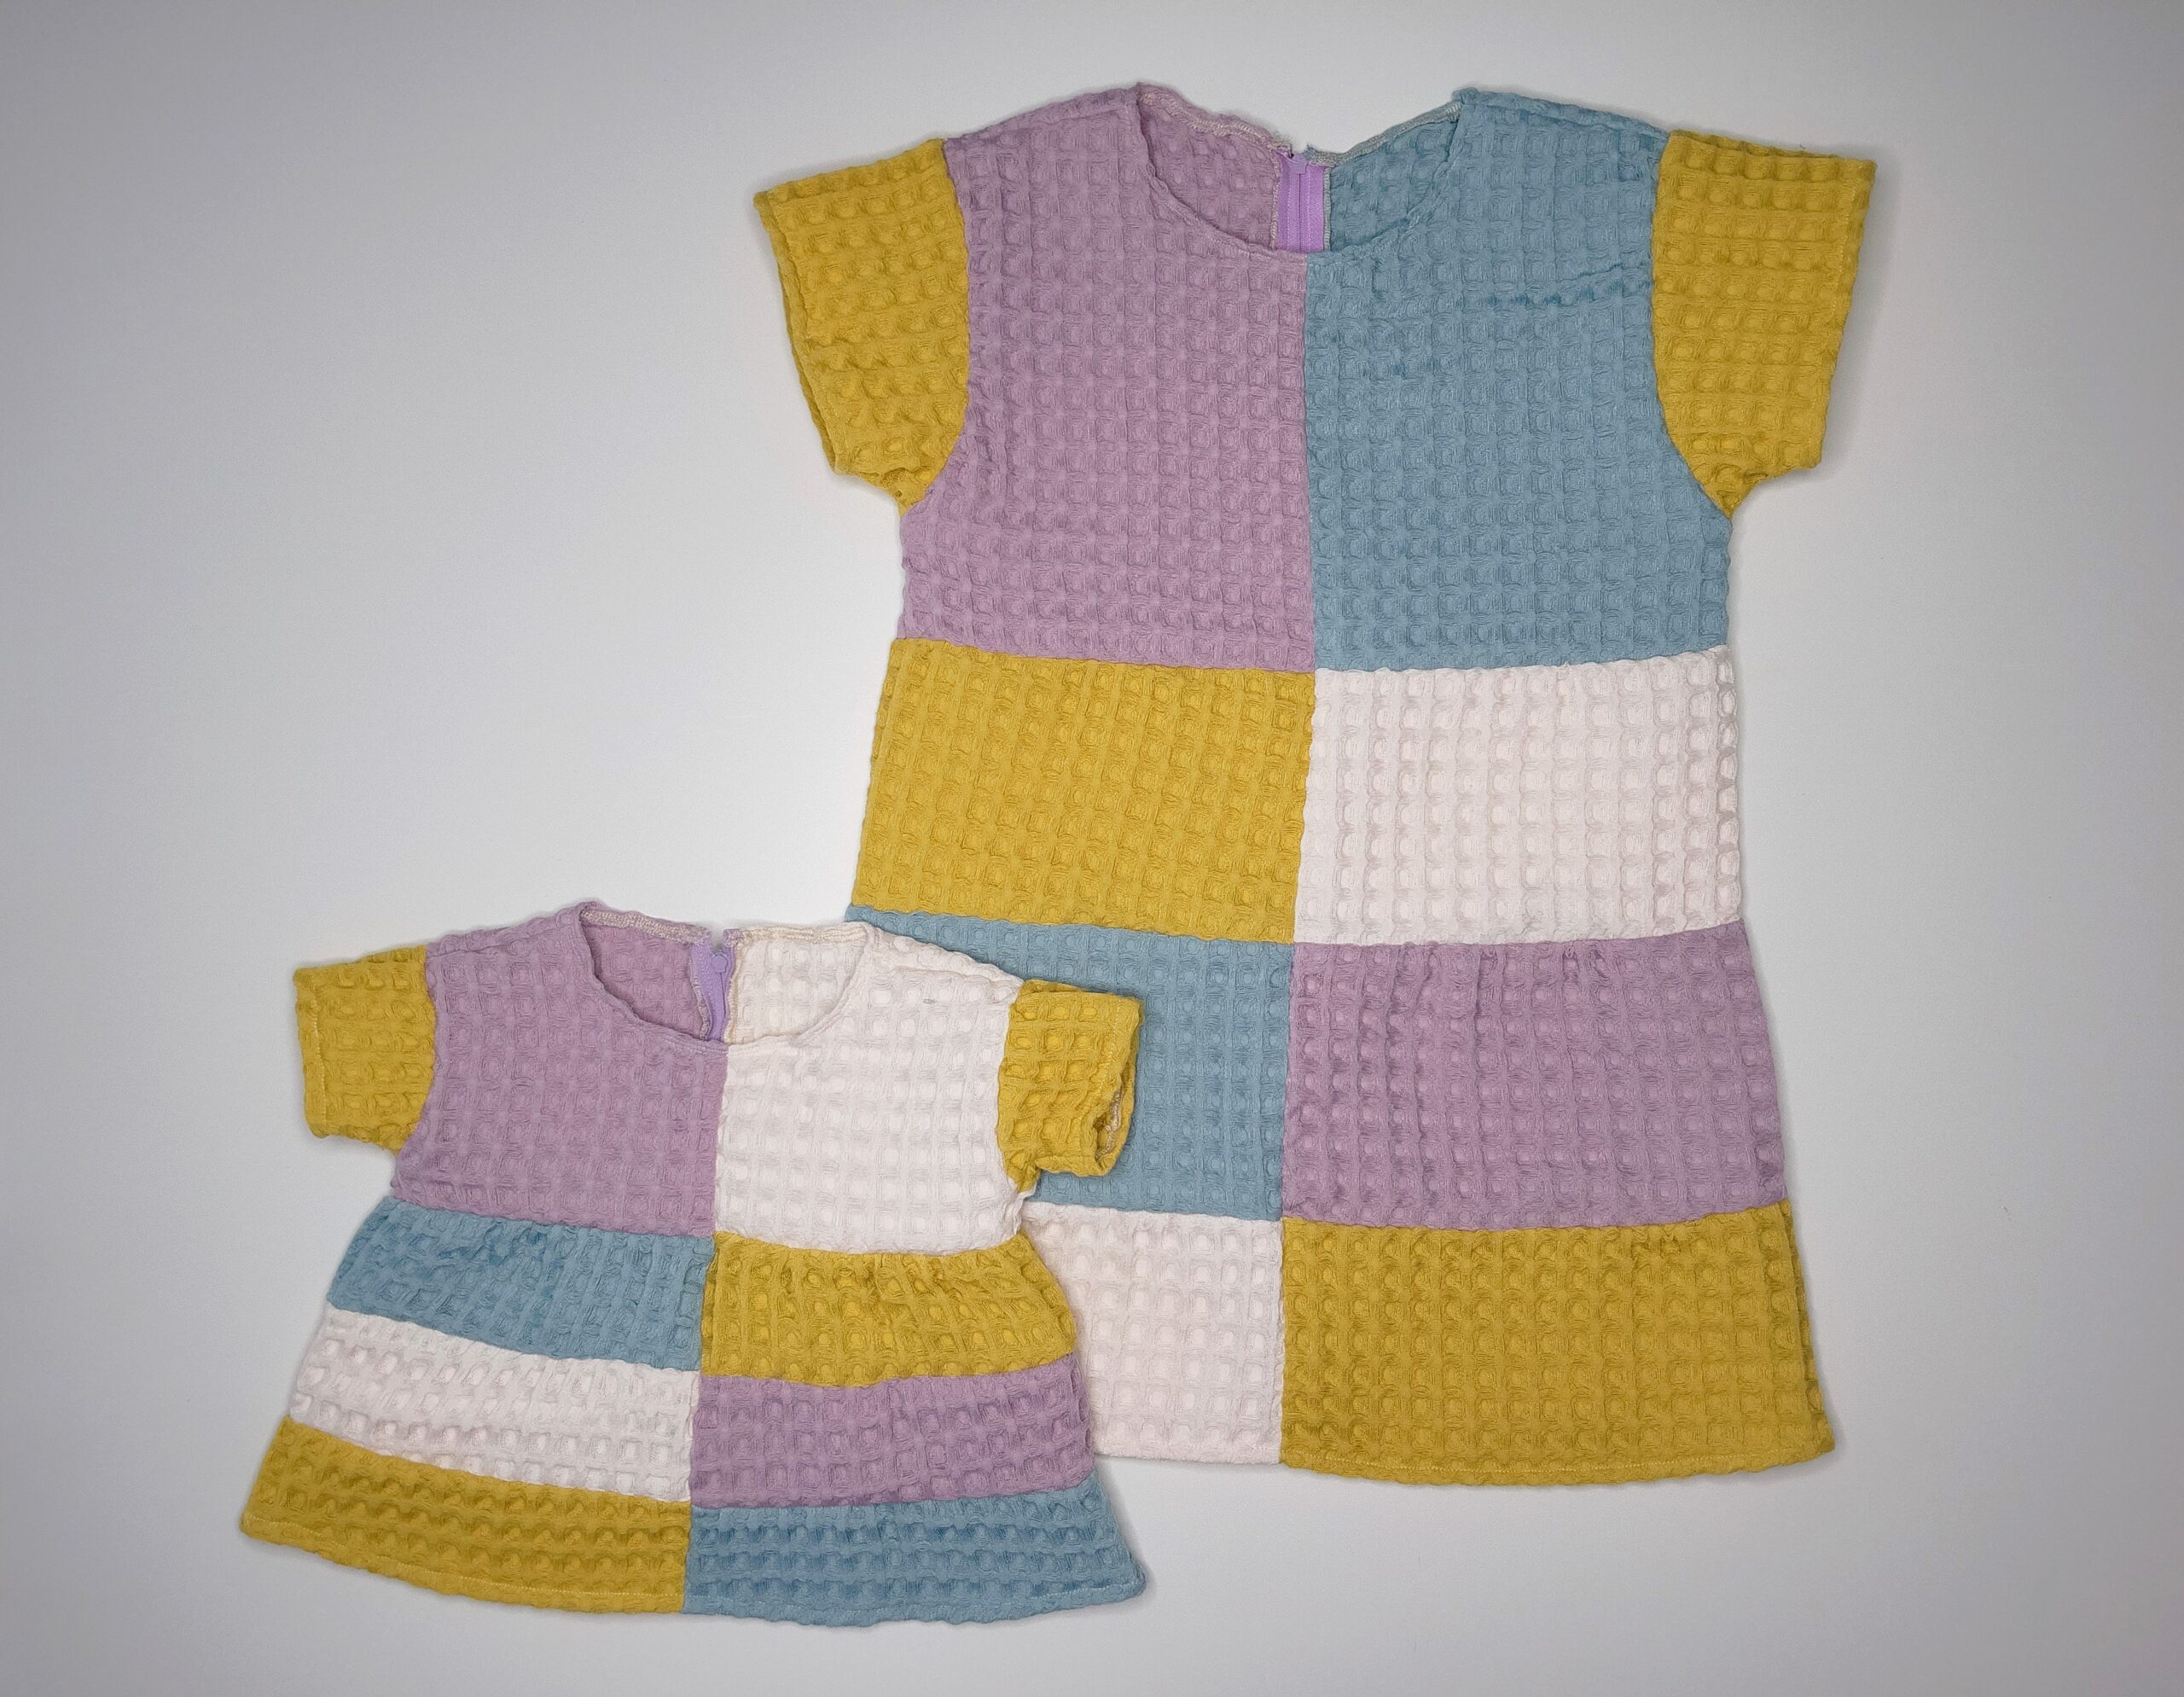
You can choose to do whatever pieces you want. Technically you could do it all one color if you wanted to, but however you choose, just make sure you’re consistent with it. For mine, I decided that I wanted the top to be two colors, so I needed a front and a back of purple and then I decided to do a front and a back of the blush/cream as well.
After you’ve got your bodice pieces cut, choose your sleeve color. I chose to do mine the same color. Because my fabrics are pretty bright and bold, I thought it would get a little too crazy if I made each sleeve a different color, but it’s just a design choice, so you do you!
I sketched out a little drawing to keep all my pieces straight, and it’s good I did, because I referred to it a lot. Feel free to follow what I did or choose your own, but a little sketch might be helpful for you as well.

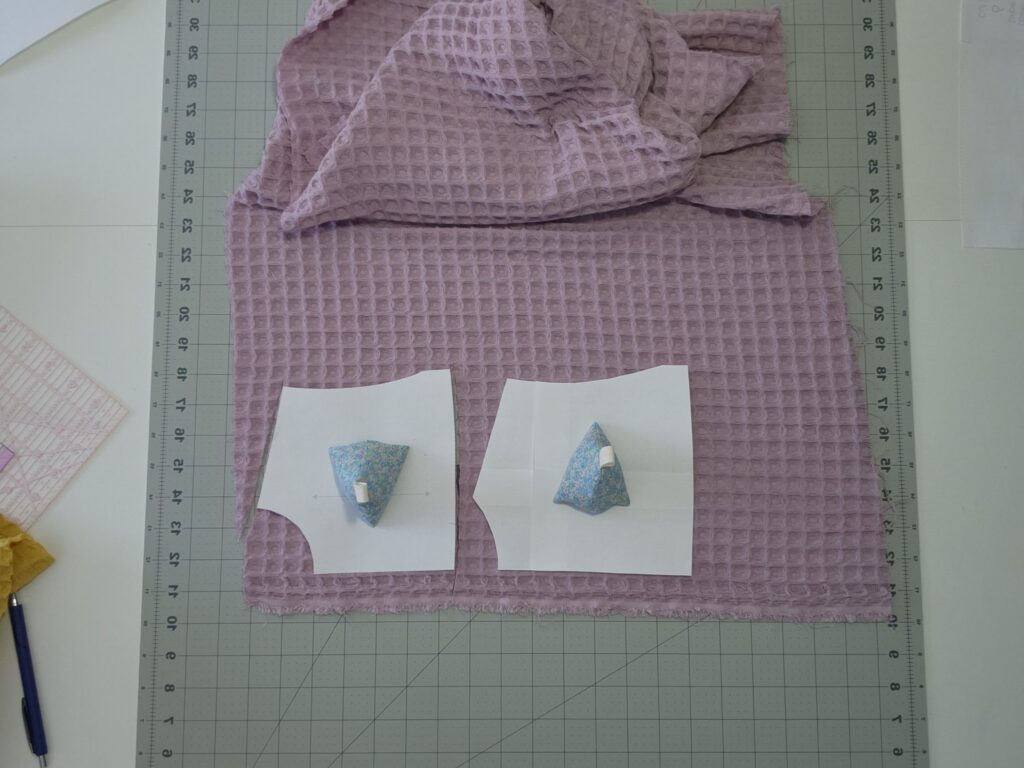
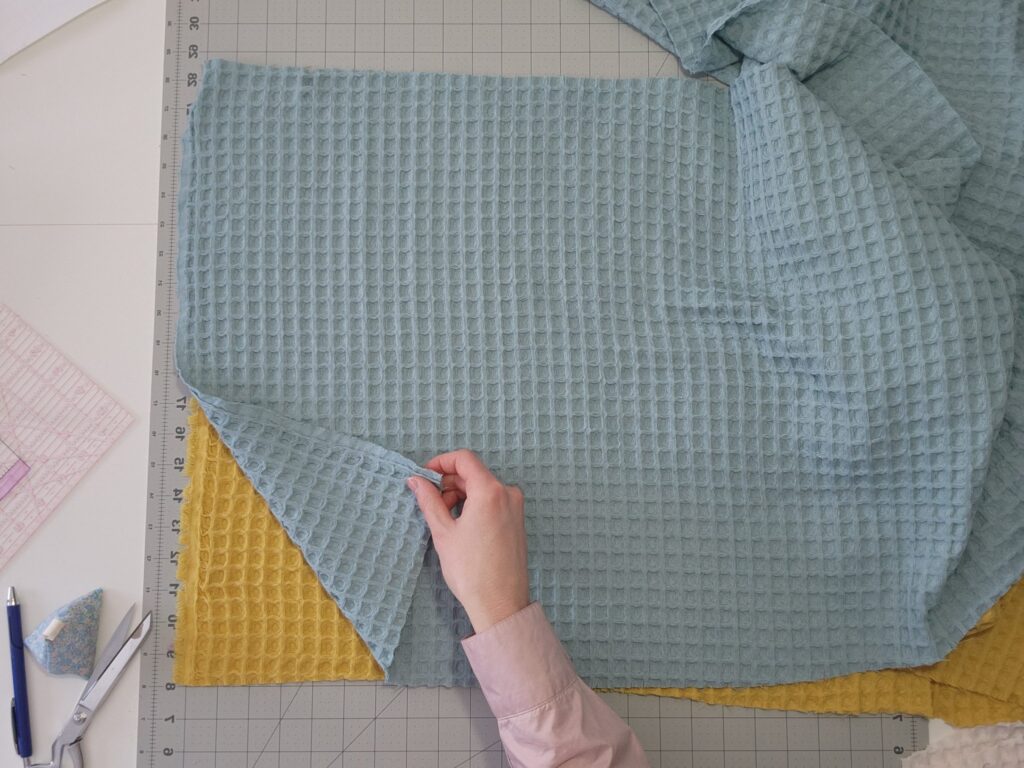
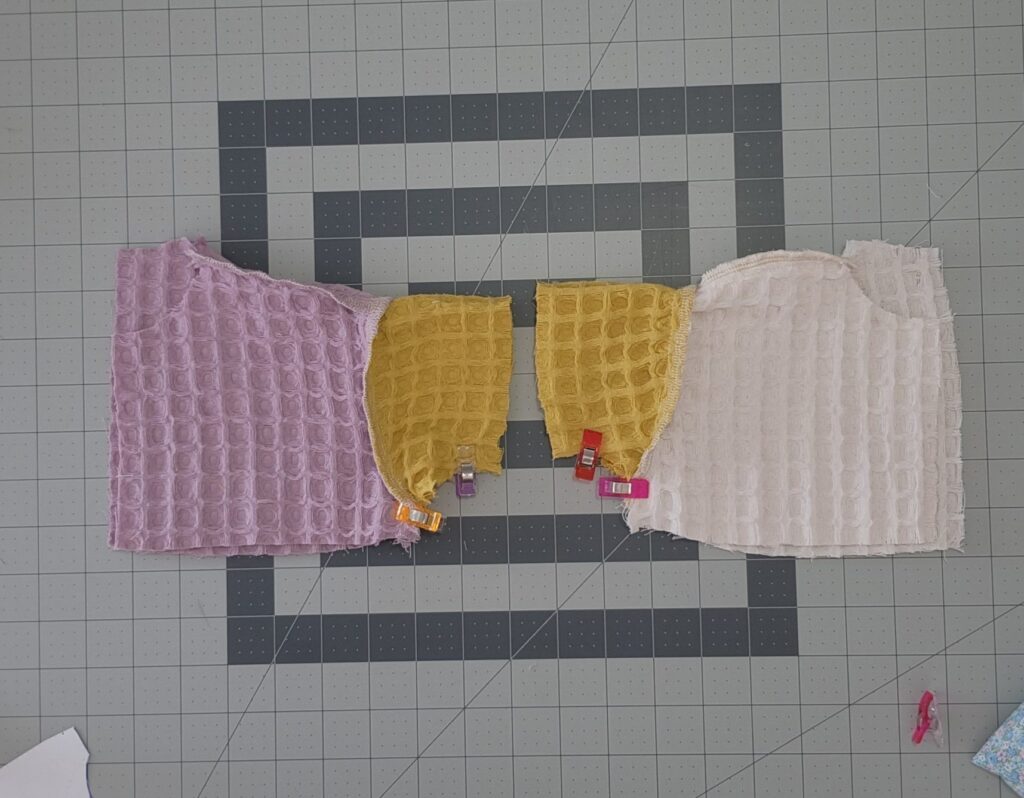
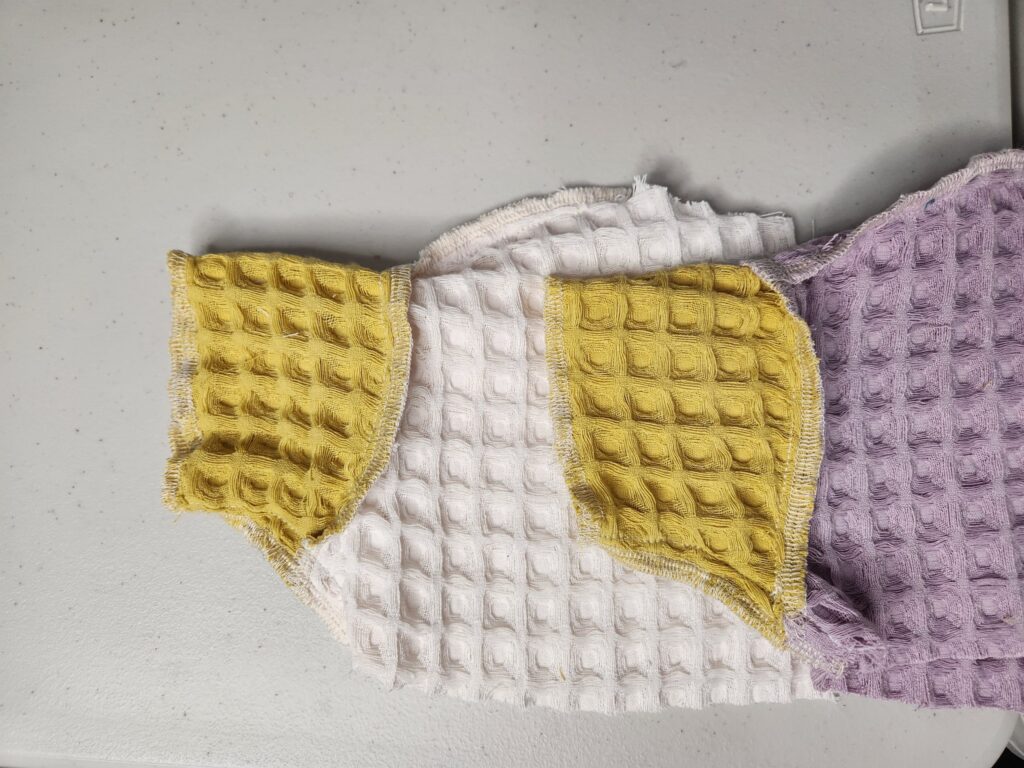
When I cut my stripes, I wanted to avoid having to cut things twice, so I would layer my fabrics to just cut them out once. For example–which you can see below–I put the blue on top of the yellow and cut out the top and bottom stripes.
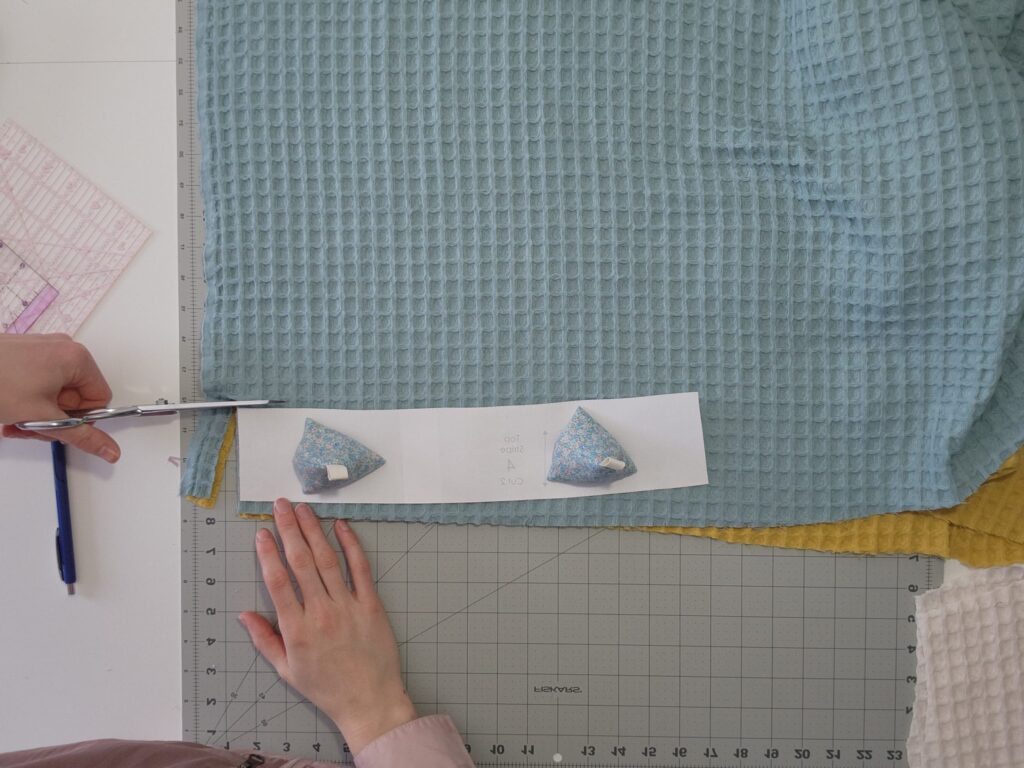
Once you have all your pieces cut out, keep them together with the pattern papers so you can remember how to orient them and keep them straight, especially where the top, middle, and bottom stripes are so similar looking.
2. Construction
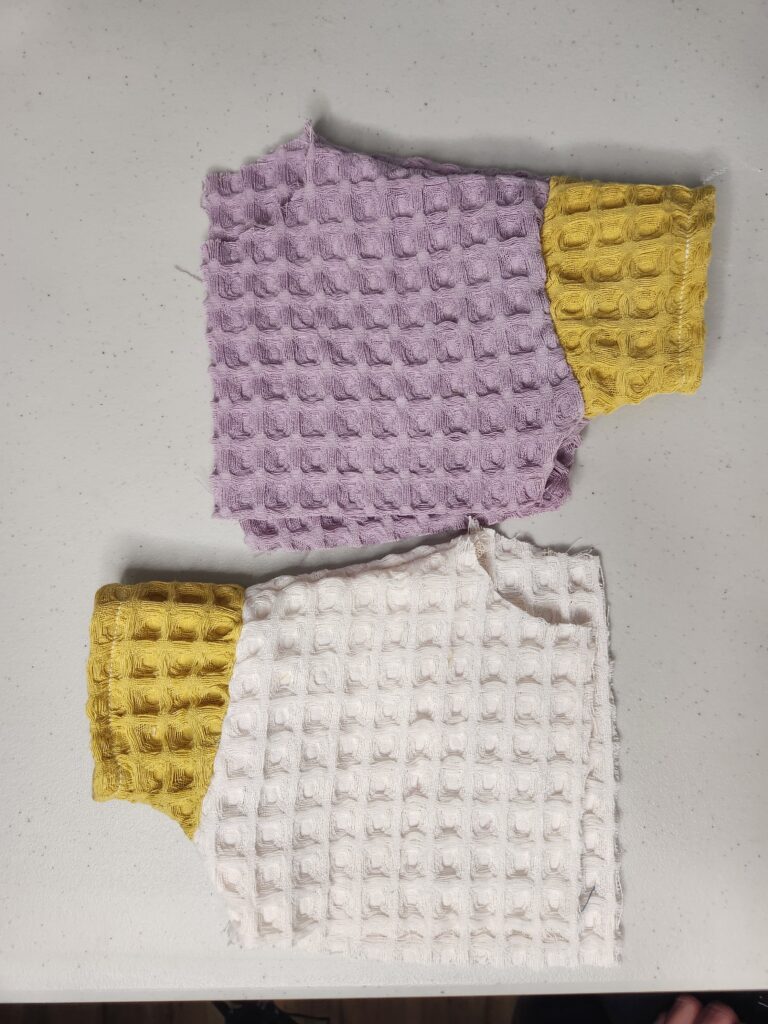
Start with the bodice and match your front and back bodice pieces together and pin at the shoulder line.

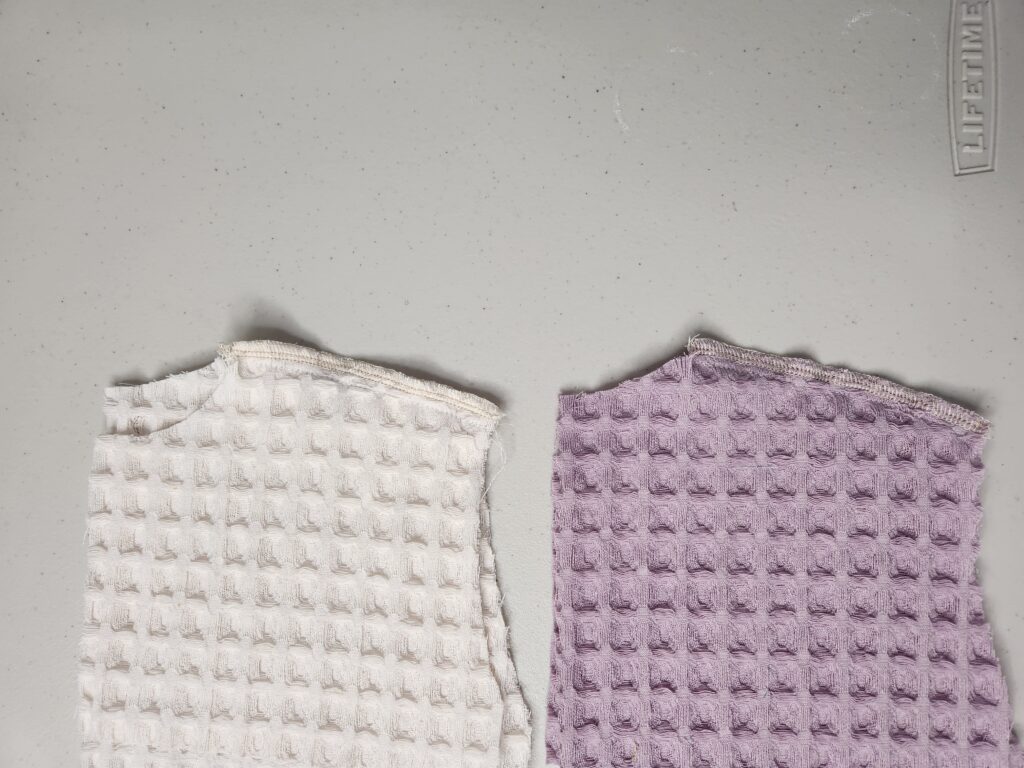
If you’re doing two different colors, make sure that when you have them sewn together, they end up being two opposite sides. (One of the mistakes I made on one of the sizes was sewing two left sides. I had done the shoulder seam and attached the sleeve with serging, so I decided it would be more time-effective to just cut new pieces instead of unpicking.) This wouldn’t happen with a fabric that had decidedly different sides, but the way mine was weaved, you actually couldn’t tell right from wrong side.
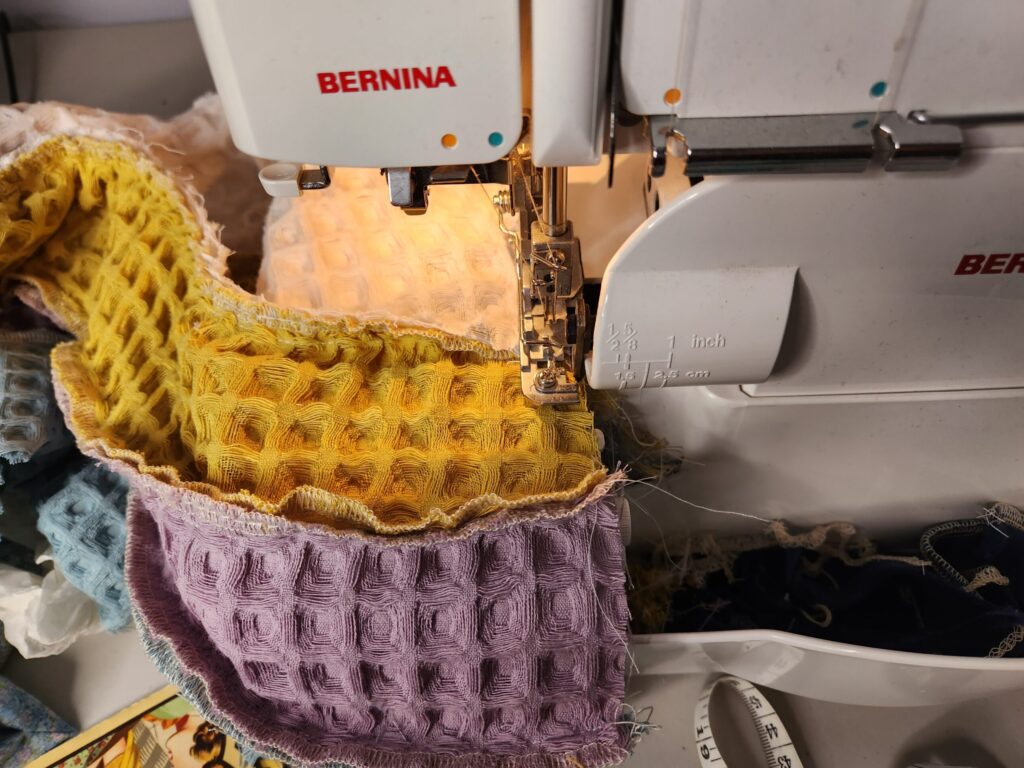
Aaaanyway, stitch along the shoulder seams. My fabric frayed very easily, so I made sure to serge the edges. Zig-zag stitching along the seam allowances would work as well for most fabrics, but honestly, with this fabric I don’t think that would have worked.
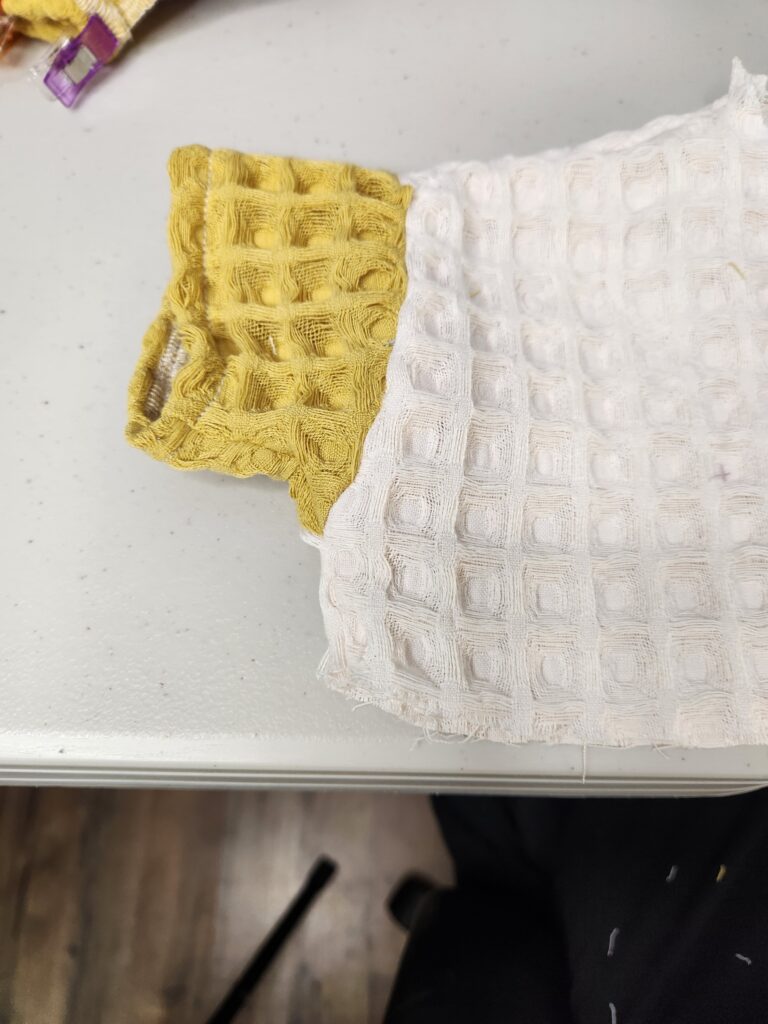
Once your shoulder seams are sewn, open up the bodice pieces with right sides up and lay a sleeve on top of each one. (Children’s sleeves should always be sewn this way because the armholes are too small to fit around the neck of a sewing machine. Setting in the sleeve will not work well.)

Stitch the sleeve to the shoulder line. Serge/zig zag the seam.
Now, you’re going to fold the bodice at the shoulder line and with right sides together, pin and sew the small little arch that makes up the under arm and side seam, folding your sleeve seams up towards the sleeve.

Serge/finish the curve using your chosen method, and repeat on the other side so you have both sleeves attached and the side seams finished.
To finish the sleeve, you have three options. If you don’t have a serger, you’re going to do a double fold to hide the raw seam. Fold the sleeve end over 1/4 inch and press, then fold again. If you have a serger, serge around the raw edge and then either do a single or a double fold to finish the edge. For the 3 month size that I made, the sleeve was so small that I just serged and did a single fold. For the 5t size I made, I serged and double folded, and of course it gives a better finish.

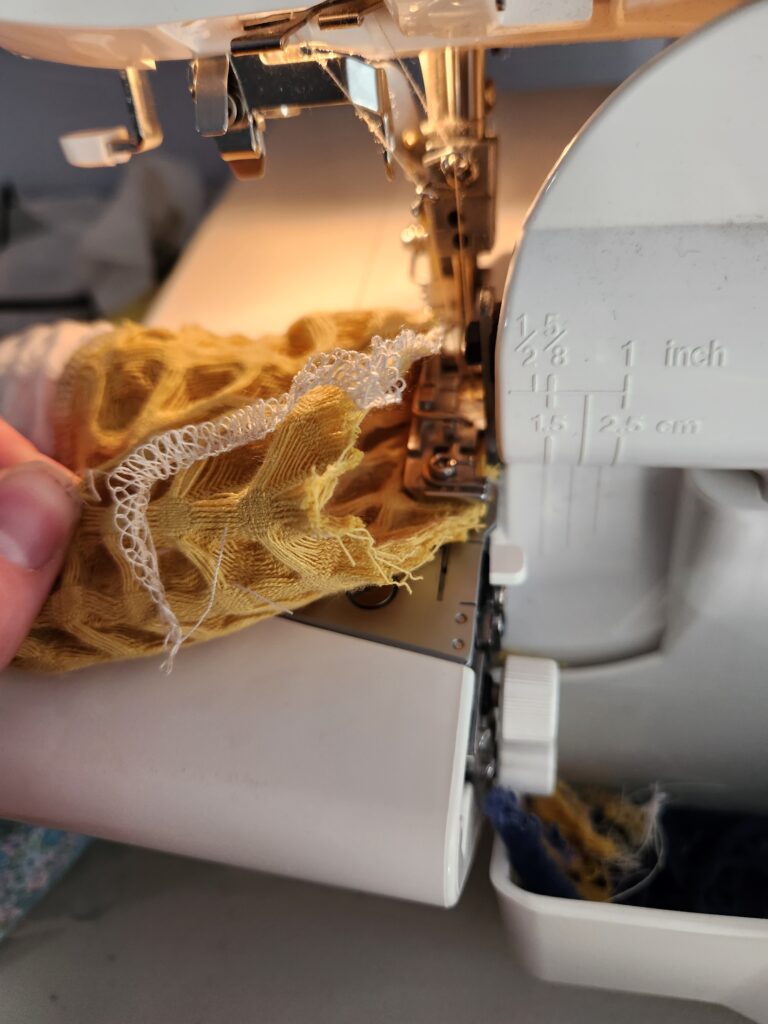
FOR SERGING: the armhole is quite small, so you’ll need to be careful not to catch another part in the serging. You kind of have to pull the fabric from the back forward as it leaves the presser foot so you have enough in the front to work with. I’ll have a video tutorial at some point that will show you how that might look.
You kind of need to do the same thing with the sewing, carefully making sure that you are sewing in the right spot.


Repeat for the other side so that you now have two, almost finished bodice pieces. Yay! Progress!
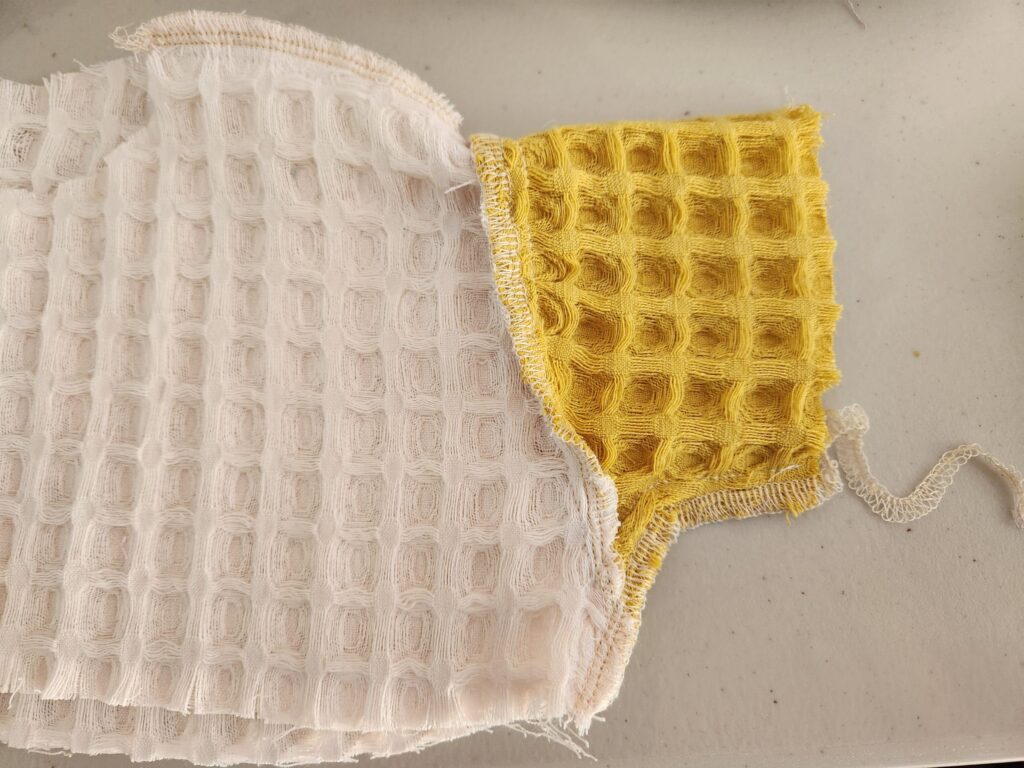
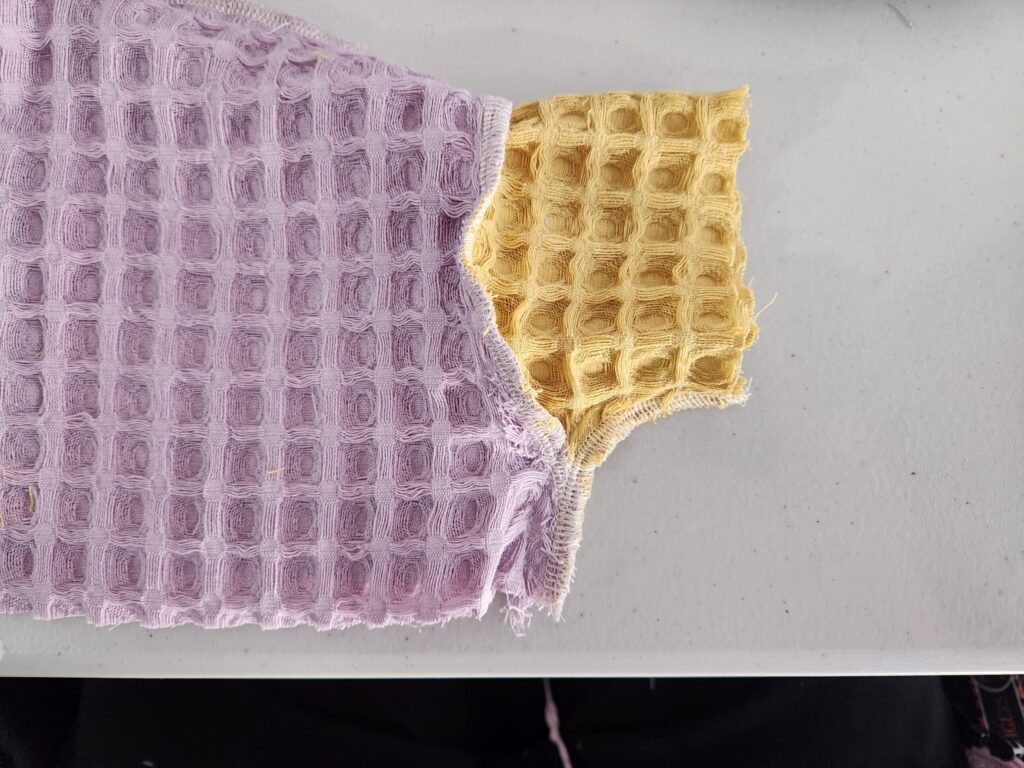
Next up is starting with the stripes. The first one I sewed, I serged each long edge of each stripe. When I sewed the 12 mo and 5T sizes, I sewed the stripes together and then serged the raw seam allowance, which was faster and actually cleaner looking as well, so that’s what I would recommend.
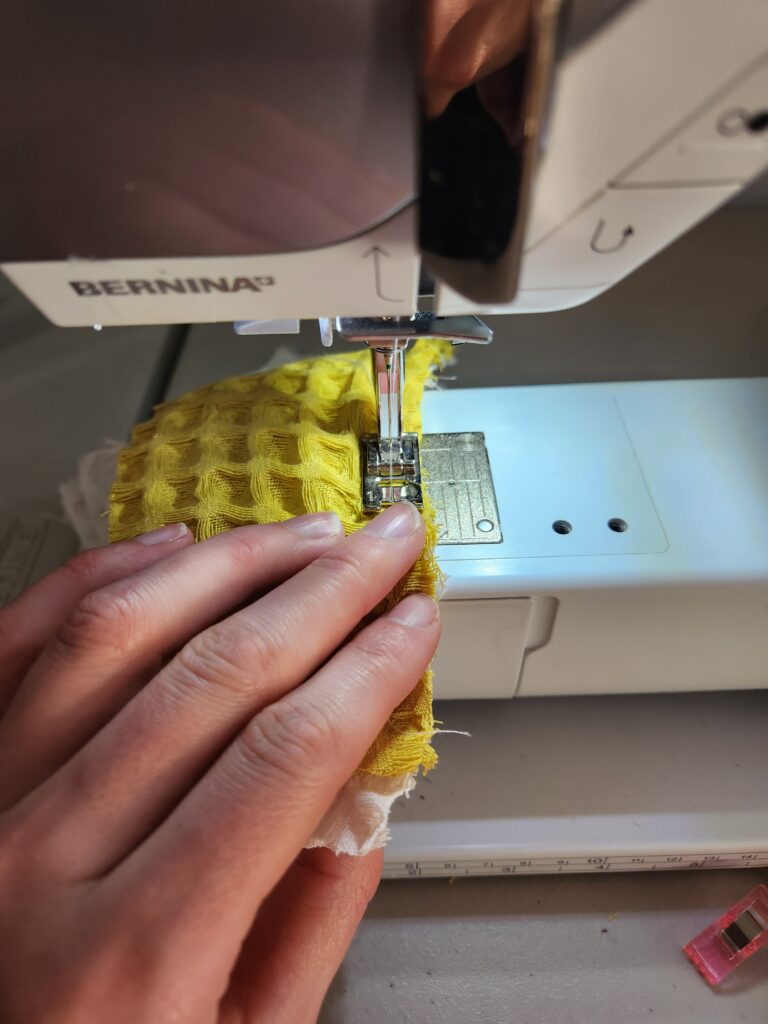
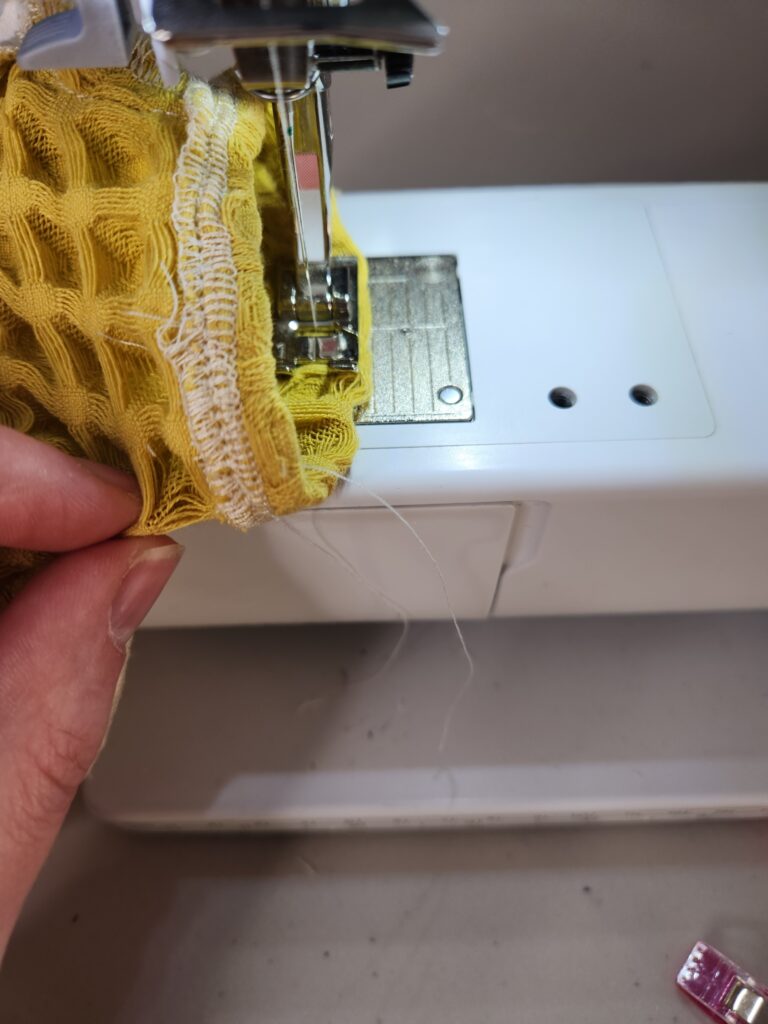
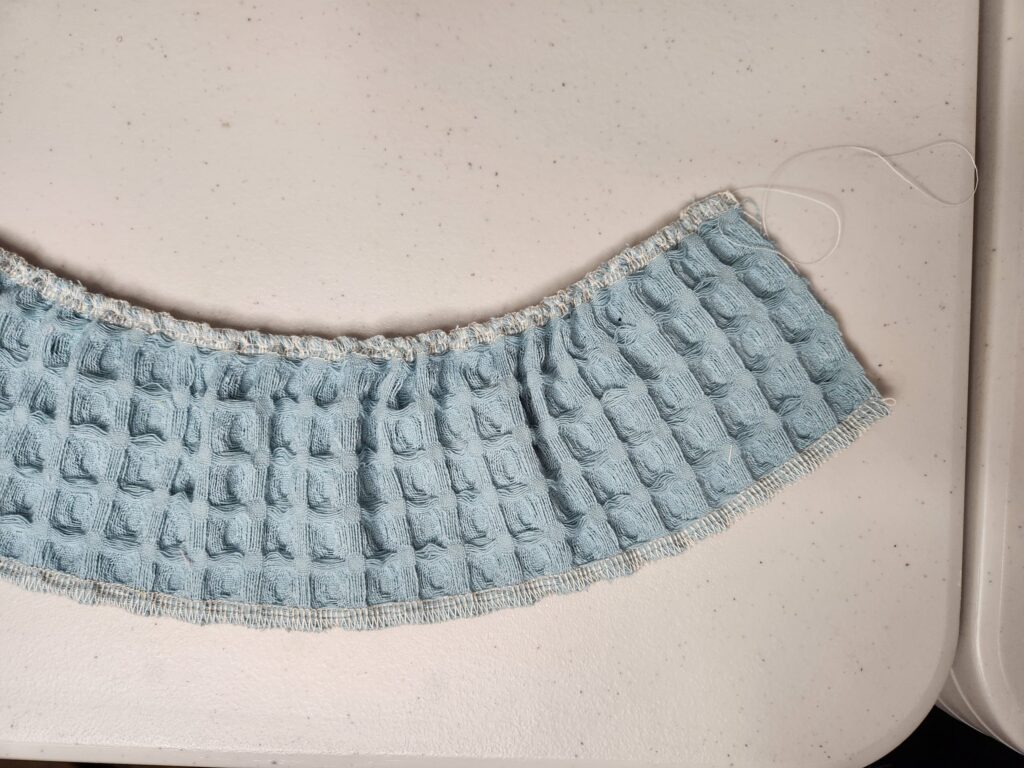
Along the top edge of your top stripes, you’re going to set your machine to the longest stitch length and DON’T backstitch. Make a stitching line close to the top edge and pull to gather/ease. There is not a lot of extra for the stripes. The pattern was drafted wide, and the style is not really gathered, it’s eased, which means a purposeful slight difference in length is kind of molded into the other one. I spread out these gathers a lot from what you see below.
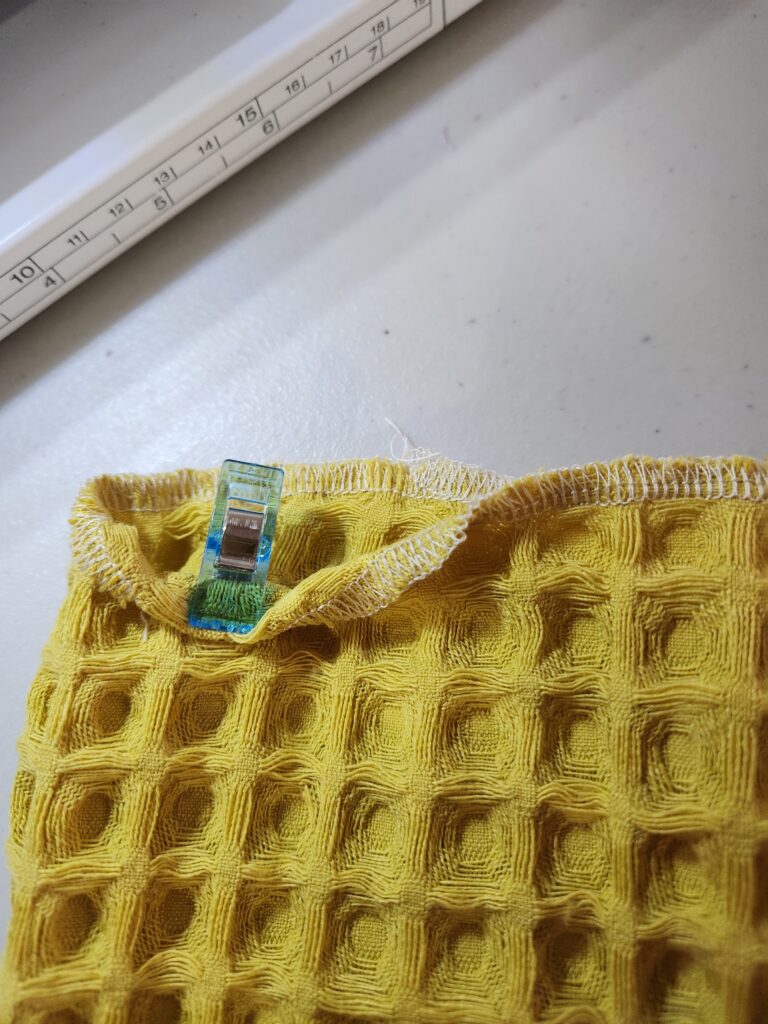
With the top of your stripe lined up right sides together with the bottom edge of your bodice, pin/clip together, making sure that your easing is evenly distributed, so you don’t have a bunch of gathers in one spot.

Stitch and then repeat with your stripe on the other bodice side.

Repeat this process for each stripe. For the larger sizes that have four stripes, choose whether you’d like to use three or four. I actually found with the size 5T that I didn’t want the fourth stripe, as three was long enough.
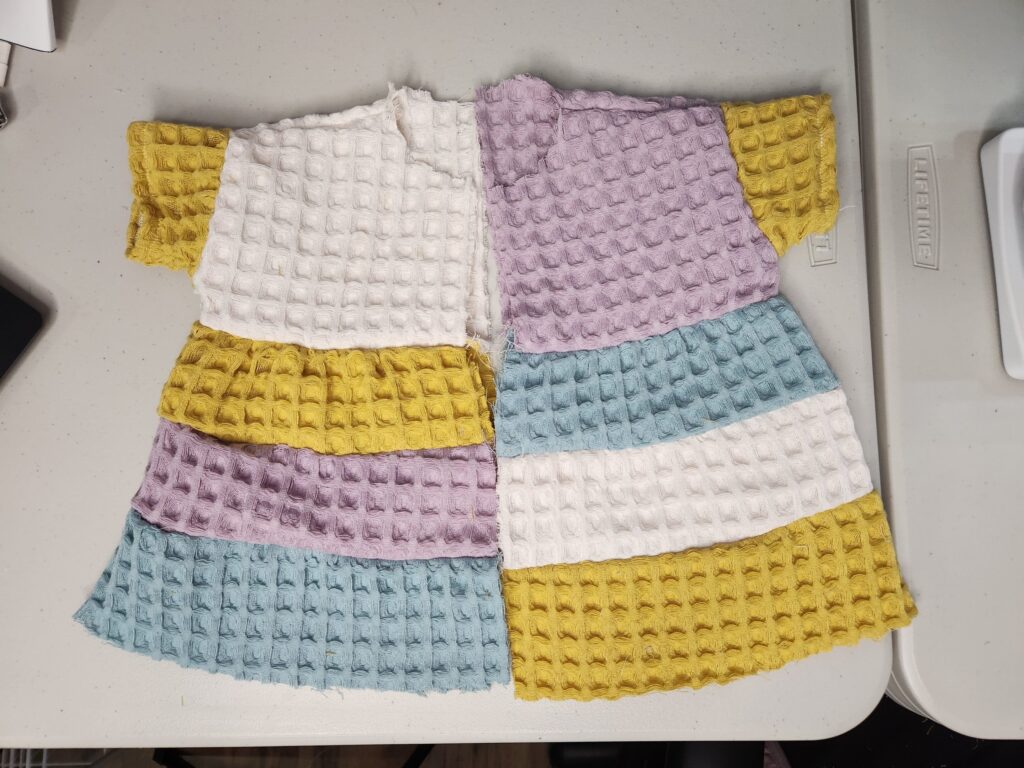
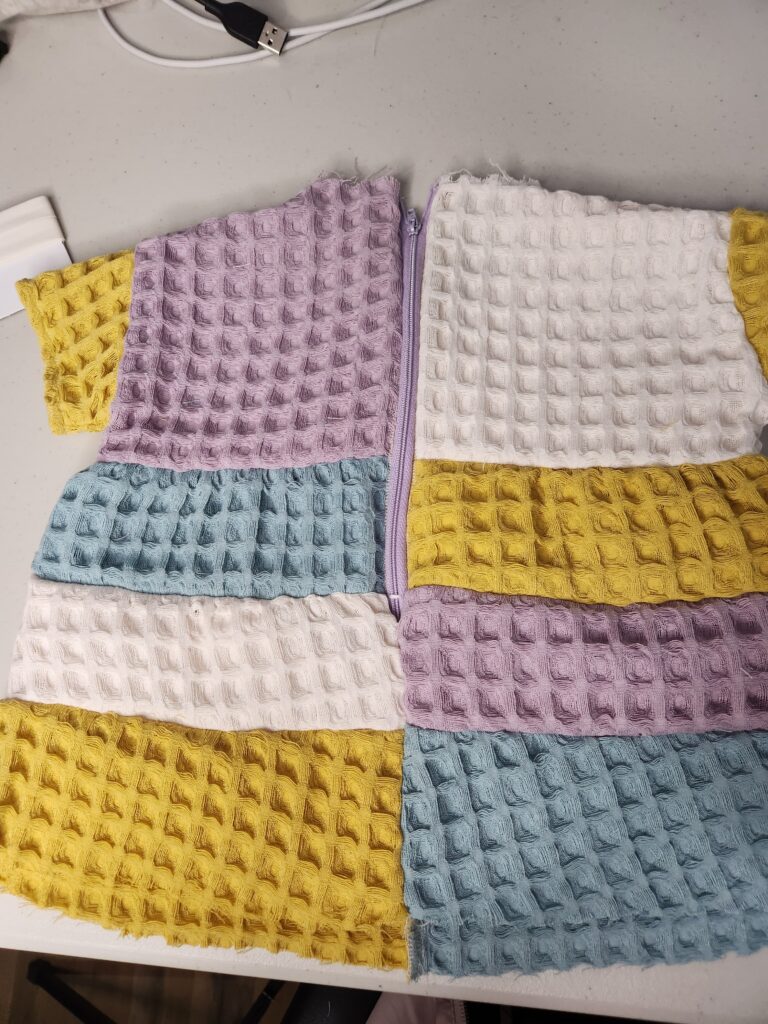
You now have two halves of a very cute looking dress! You’re going to lay the two pieces right sides together with the front raw edges together. As you sew down the front, be sure to match your stripes really nicely so that you have nice, crisp corners.
Serge this seam as well.
The back closure uses a zipper. If you’re confident sewing, you could definitely choose to do a button at the top, but I’ll be showing how to insert regular (not invisible) zipper.
First, set your machine to the longest stitch length.

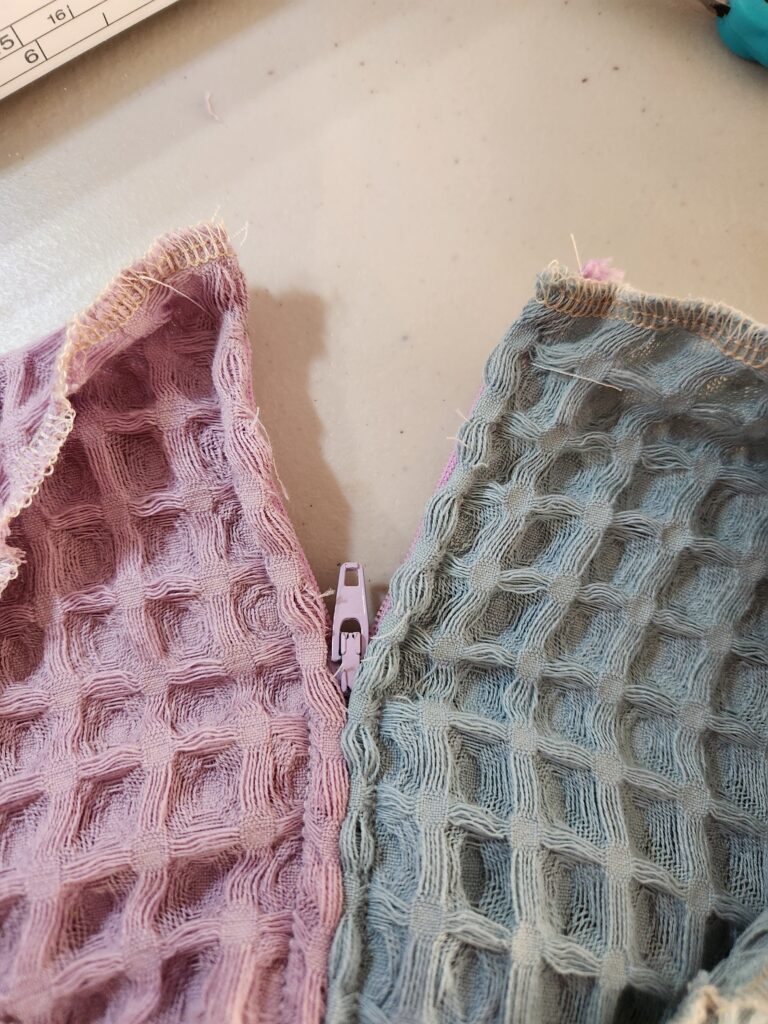
Then, line up your back raw edges with right sides together. STARTING AT THE TOP, DON’T backstitch, and stitch down the back the length of your zipper

I used an 8-inch zipper, so I stitched 8 inches from the top using the longest stitch and didn’t backstitch at the top. When you get to where your zipper would end, change your stitch length back to normal, and do a two to three stitch backstitch and then continue down the rest of the back seam. You do all of this without lifting your presser foot or cutting the thread or anything.
Next, you’ll open up the dress and press the seam allowances open. With the RIGHT side of the zipper facing the WRONG side of the dress, use a zipper foot to stitch close to the teeth all the way down the length of the zipper.

Pick out the long stitches you made from the top until you reach the end of the zipper. Be careful to avoid picking out your backstitch that starts your regular-length stitches.
Almost there, now for finishing the bottom and the neck. I’ve been known to move on to a new project without hemming my last one because I hate it so much, but it must be done.
The options for finishing the neck and the bottom are the same as finishing the sleeve:
- Serge and fold once
- Double fold (fold over 1/4 inch, press, fold over again, sew)
- Serge and fold twice.
Either of the double folds will give you the neatest finish and best look. When I use my serger, I find that it’s very simple to just turn it over the width of the serging, and then fold again.
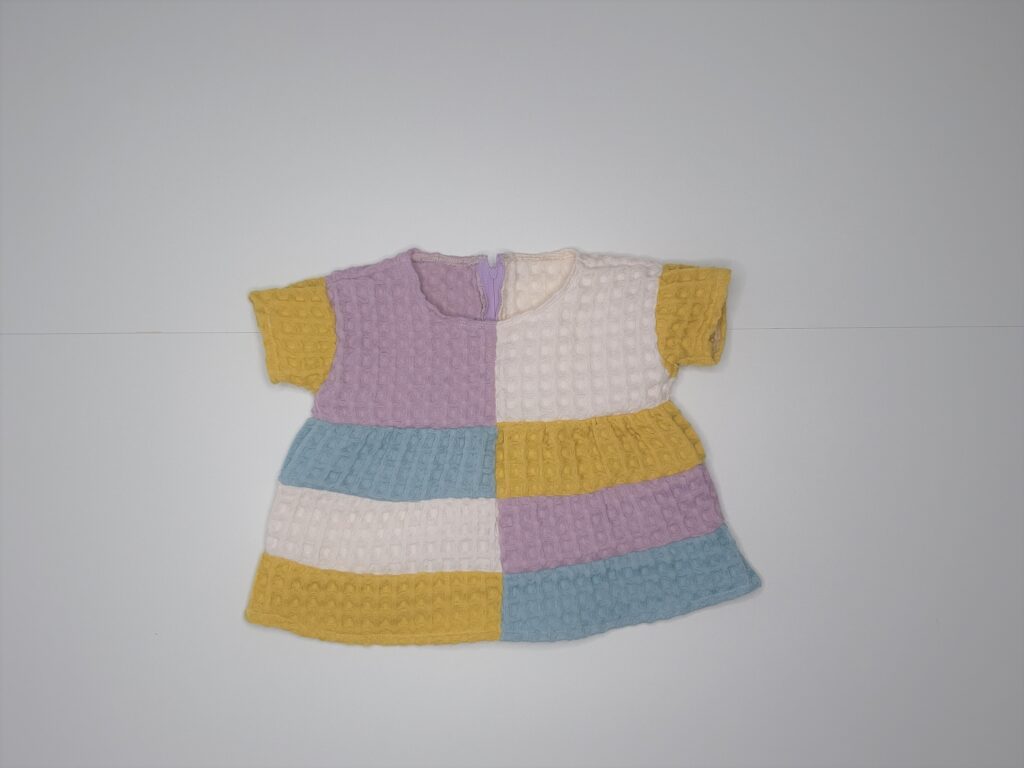
There you go! You’ve got the cutest rainbow dress. This was a super quick sew for me. Once I had everything cut out, the actual sewing probably took me about an hour. How’s that for a naptime project?
If you make this dress, I want to see it! Be sure to tag @kdbandco in all your socials so I can see your amazing creations. Hasta luego!

Leave a Reply